Hello Friends! Well, we finally finished my studio and I looooooove it! For those of you who don't know, my awesome family allowed me to claim our rarely used formal living room. It's a nice big open space with windows, on our main floor........I know what you're thinking,,,main floor? She can't possibly keep that presentable looking! Lol....I was a little nervous about this too. After all, it is an open floor plan and I am NOT the tidiest of people. (I think creative people rarely are) Anyway, my solution was cabinets, cabinets and more cabinets! I'll try to walk you through what we did and where certain things came from, please feel free to ask questions etc. Thanks!
You can see a video tour here.....but consider yourself warned....you may get motion sickness watching it! http://youtu.be/1KLz89-v45Y
The cabinets on the back wall are actually 4 of the home depot unfinished utility cabinets. I painted them and my hubby put trim across the bottom to make them look like one cabinet. Then we added the oiled brass pulls. I loove these, there's a ton of space in them!
...comfy chair and blanket so my peeps can come hang out with me.
The buffet and china cabinet were originally in this room and I just couldn't part with them...plus, they are great storage.
My wonderful husband built this island for me with 4 ~ 24 inch stock base cabinets and bead board. I got the beautiful Quartz top on craigslist for $250!!!! It would have cost me well over $1500 to purchase at Home Depot.
My buffet and TV....I'll be selling my mini's that are on top if anyone is interested. There are individual videos of all of them on my Youtube. You can invoice me an offer if you like.
This antique dresser is my shipping center. My scale, padded envelopes, tape etc...live in the drawers
.....oops...a little Sassy hiney made it's way into the pictures. That's their little doggie bed they lay on while I work.
Did I mention I love my island? Sugar bowls hold my pens, markers, tweezers etc.
View of my studio from the dining room (Spike is smiling pretty for the camera)
China cabinet with my vintage laces, buttons and seam binding. I have all these goodies stored in vintage crystal and glass punch bowls and serving bowls.
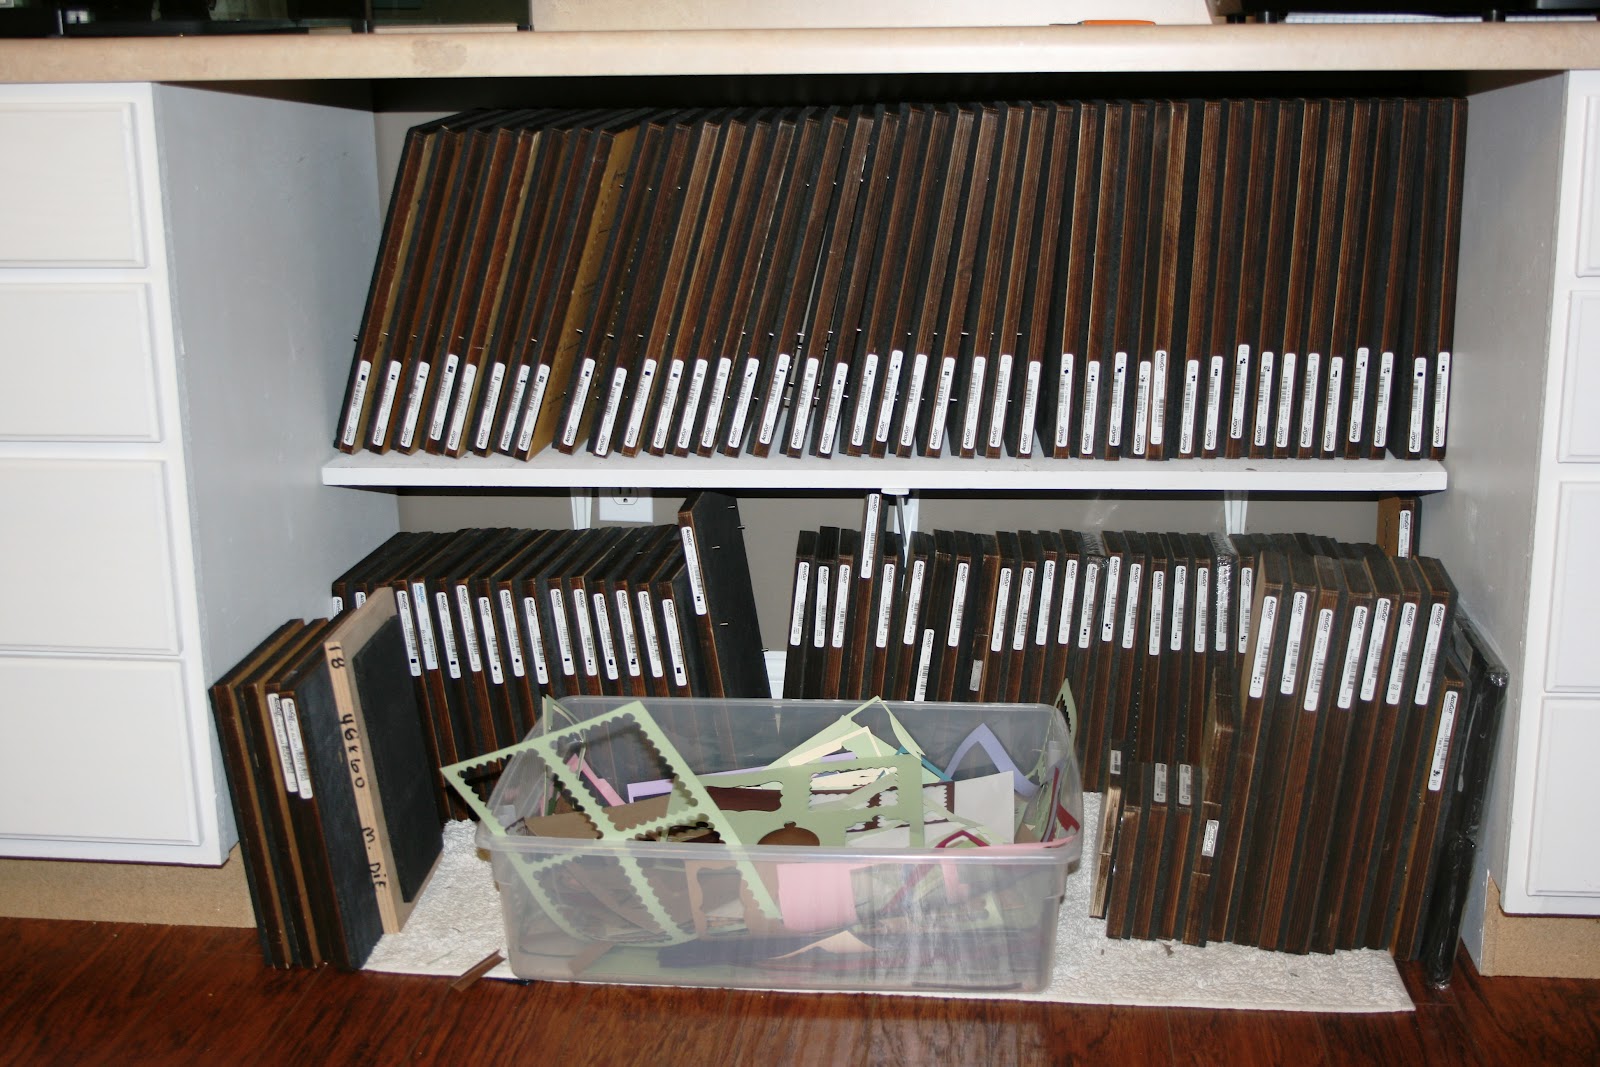
My die cut center!
Accucut dies
Grande Mark and Sizzix Pro
12 x 12 papers and misc
More accucut dies
Distress Inks, reinkers and sponges
More 12 x 12 papers and dies
Punches and bling
Paints, brushes, and other embellies, tap runners etc
Prima flowers. the clear jars are from Uline...love them!
Rectangle containers are from Target
Itty Bitty Prima flowers
Stampin up scraps
Card stock scraps
Chipboard scraps
ribbon
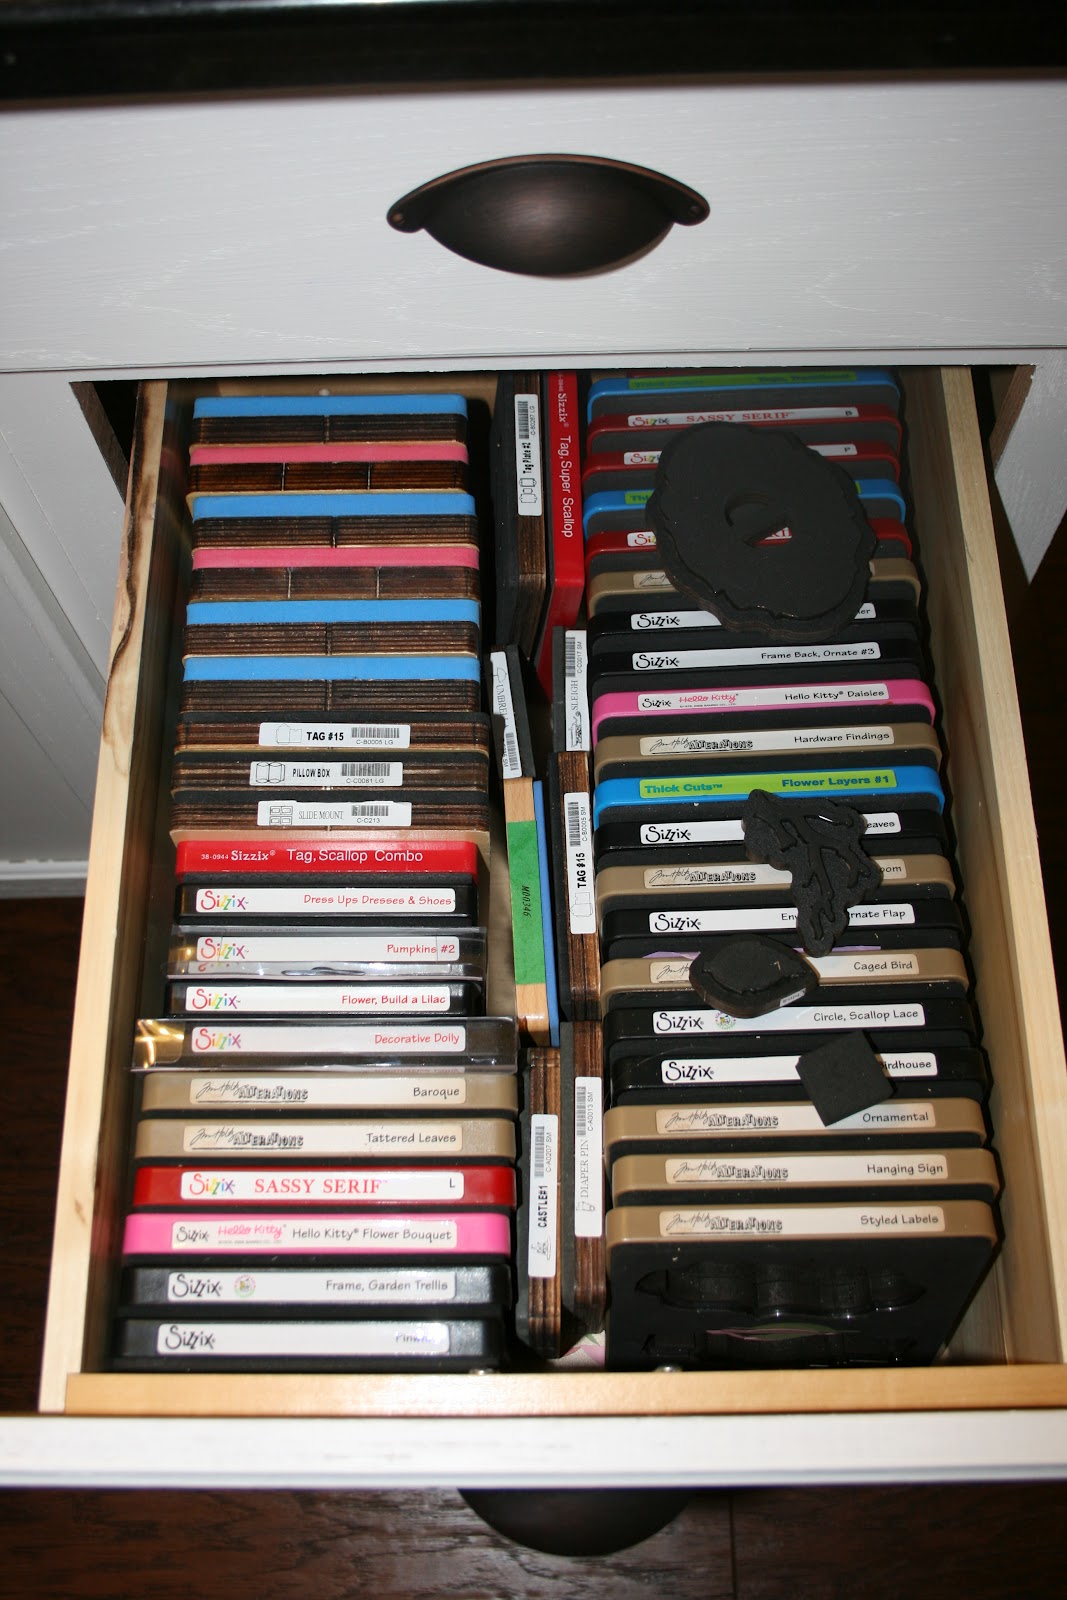
More sizzix dies
More misc embellies (Cabinets above the die cut center)
8.5 x 11 paper stored above the Grand Mark die cutter
Spectrum Noirs and tattered Angels. i don't use these that often so they live in the hardest cabinet for me to get too.
Inside the china cabinet
Vintage jewelry
Lace and buttons
More vintage lace and buttons
Twill tape
Vintage lace and seam binding
Sizzix dies in island drawer
2~ 12 x 12 drawer stacks in island cabinet. This holds my metal embellies: clock hands, brads, charms etc
Stack in other cabinet
All the things that are stored in the island are things I use on a regular basis.
Die cut mats
Misc embellies
misc tiny embellies (also known as the junk drawer....I can't be bothered with putting away these tiny embellishments...so if i grab too many the extras get thrown in here lol)
Accucut Grand Mark
Thanks so much for taking a peek! Warmly, misty
Thursday, August 23, 2012
Sunday, August 19, 2012
Mixed Media Altered notebook.....Shabby steampunk? lol
Hello Friends!
I did a little project last night that is starting to grow on me lol. When I first finished I just wasn't that thrilled with it....but now I think I like it!
I started out this project with the thought "I think I'll try my hand at mixed media!" When I think about it now it makes me laugh...because I think if you go by the wikipedia definition, all of my projects are "mixed media". However, I rarely use paint and had never used gesso (which I found out was just a fancy name for primer, but I will continue to call it "Gesso" because it makes me feel like a real artist!)
First I painted Gesso all over the front cover. I actually did 2 coats although I'm not sure that was needed. Then I finger painted on the darker Bronze metallic Paint. As I mentioned before, I am totally in love with this stuff! It' a Martha Stewart Living product that I bought from Home Depot for $5.50 for 10 oz. It will take me forever to go through all of this shimmery goodness! Anyway, while this coat was still wet, I finger painted on some of the Golden Pearl metallic paint.
I used my heat gun to dry it quicker....the heat made the thicker patches of paint bubble up. I actually liked the effect and just pushed the bubbles down. It really added some texture. Once that was dry, I used a Prima template thing-y to do the designs in the corners. I just slopped the gesso on and squished it around the "template thing-y" As you can see the result was less than a crisp image lol...but I like the result! Then I rubbed Vintage photo distress ink over the Gesso and sealed it with Mat Medium from Ranger. To me it looked like embossed leather.
I covered the back with design paper and added a different design paper binding.
The frames are made from chipboard, rubbed Vintage photo ink all over them and then sealed them with the same mat medium that I sealed the cover with. The chipboard letters were painted with the metallic paints and then highlighted a little with black paint. (The frames have a touch of the black paint as well) The images are from my store and were distressed with the above mentioned distress ink.
The flower was painted with a Metallic Glaze from the same Martha Stewart line. I really love how it came out. It is topped with a piece of old vintage jewelry. I believe it was an old earring. I love to use old broken jewelry, it Makes your project truly unique!
Finally I added the metal clock hands and the brown braided leather trim which are now available in my shop. I'll have links to the store items under the pictures.
Thanks for looking and I would love any feedback you may have. (If you hate it, please try to find a nice way to say it lol. My hubby will think I'm crazy if I start crying at the computer)
Chipboard Frames: http://www.zibbet.com/shabbybeautiful/artwork?artworkId=955388
Clock hands: http://www.zibbet.com/shabbybeautiful/artwork?artworkId=952513
Trim: http://www.zibbet.com/shabbybeautiful/artwork?artworkId=885471
Images: http://www.zibbet.com/shabbybeautiful/section/digital-collage-sheets
Subscribe to:
Posts (Atom)